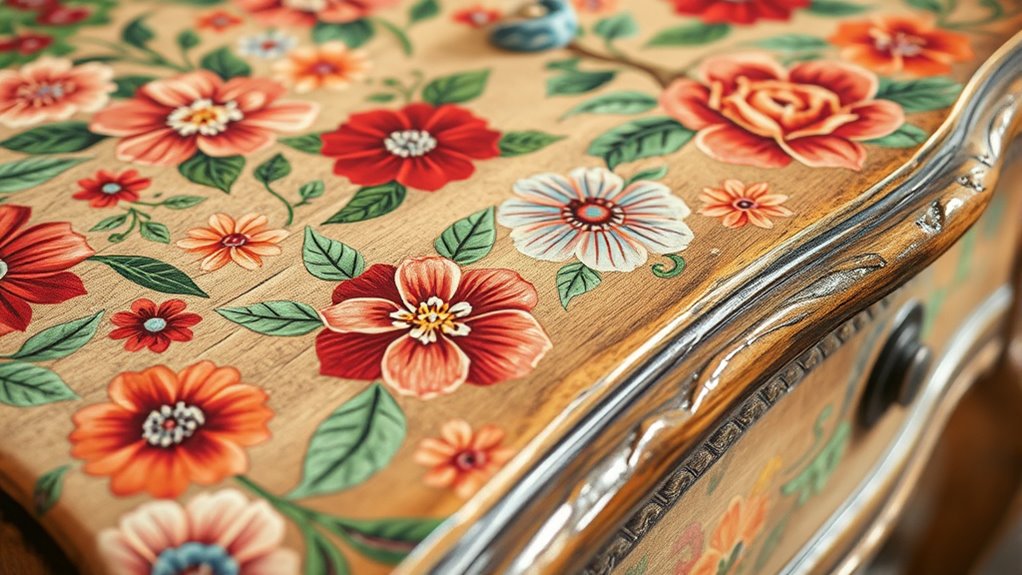

To decorate furniture and home items with decoupage, choose decorative or vintage paper that suits your style and test it on a small area first. Apply the paper smoothly with adhesive like Mod Podge, working from the center outward to avoid air bubbles. Seal your project thoroughly with multiple coats for durability and the desired finish—glossy or matte—allowing proper drying time between layers. If you keep exploring, you’ll discover even more tips to create stunning, long-lasting pieces.
Key Takeaways
- Choose appropriate decorative papers, such as tissue or specialty decoupage paper, for a durable and aesthetic finish on furniture and home items.
- Apply a suitable decoupage medium like Mod Podge with a soft brush, smoothing out air bubbles for a professional look.
- Seal the finished piece with multiple coats of clear acrylic sealer or varnish, allowing proper drying between layers for durability.
- Use different sealing finishes—glossy for vibrant colors or matte for vintage appeal—based on desired aesthetic.
- Incorporate patience and attention to detail during application and sealing to achieve a smooth, long-lasting decorative surface.
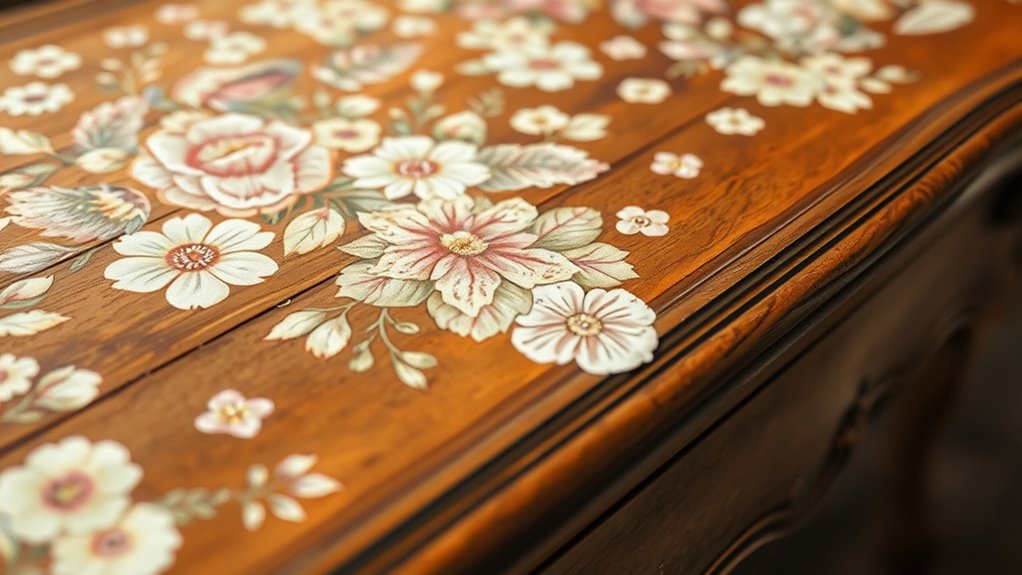
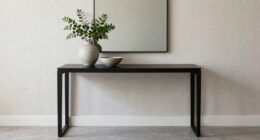
Have you ever wondered how to transform plain surfaces into stunning works of art? Decoupage offers a creative way to do just that, allowing you to add personality and charm to furniture and home items. The first step in achieving a professional-looking finish is choosing the right paper. Your paper selection plays a essential role in the overall look and durability of your decoupage project. You might opt for decorative tissue paper, vintage magazine cutouts, or specialty decoupage papers with intricate designs. It’s important to take into account the weight and thickness of the paper—thinner papers tend to adhere smoothly without wrinkles, but thicker papers can add texture and depth. Always test your paper on a small area first to see how well it adheres and if the colors bleed or fade. Once you’ve selected your paper, the next critical step is mastering sealing methods. Proper sealing not only secures the paper onto the surface but also protects your artwork from wear and moisture. You’ll want to choose a sealing method suited to your project’s needs; for instance, a clear acrylic sealer provides a glossy or matte finish and adds durability, while a decoupage medium like Mod Podge acts as both an adhesive and sealant. When applying sealant, use a soft brush to guarantee even coverage and avoid bubbling or streaks. Start from the center and work outward, gently smoothing out air pockets as you go. Multiple coats may be necessary, especially if you’re working with porous or delicate paper, but always allow each coat to dry thoroughly before applying the next. The sealing process is essential because it stabilizes the paper and prevents it from peeling or tearing over time. Additionally, sealing methods can influence the final appearance—glossy finishes bring out vibrant colors, while matte options lend a more subdued, vintage feel. Remember, patience is key; rushing the sealing process can cause smudging or uneven layers. To further enhance the durability of your decoupage project, consider incorporating yoga-inspired patience techniques, such as allowing sufficient drying time between coats. Once you’ve sealed your project properly, you can add further embellishments like varnishes or waxes for extra protection and texture. By carefully selecting the right paper and employing effective sealing methods, you’ll guarantee your decoupage creations stand the test of time while looking stunning. Whether you’re revamping a small trinket box or transforming an entire piece of furniture, these foundational steps will help you achieve a polished, professional look that showcases your creativity and attention to detail.

Flortlias Large Decoupage Paper for Furniture, Floral Printed Tissue Paper for Furniture, DIY Crafts Rice Papers, Vintgae Watercolor Rose,Letter 16.54" x19.69"
Versatile Art Paper for DIY & Décor: Transform furniture, home décor, and crafts with Flortlias large decoupage paper….
As an affiliate, we earn on qualifying purchases.
As an affiliate, we earn on qualifying purchases.
Frequently Asked Questions
What Types of Surfaces Are Best for Decoupage Projects?
You should choose smooth, flat surfaces like wood, glass, or metal for decoupage projects. Before starting, guarantee proper surface preparation by cleaning and sanding to create a good base. Select an adhesive suited for your material—PVA glue works well for most surfaces. These steps help your decoupage adhere firmly and last longer, giving your decorated items a polished, professional look.
How Long Does Decoupage Typically Last?
Decoupage can last several years if you choose durable materials and apply proper techniques. Durability questions often depend on the surface and finish you use; a good sealant extends its life. To guarantee longevity, follow maintenance tips like gentle cleaning and avoiding harsh chemicals. With proper care, your decoupage project remains vibrant and intact, making it a lasting piece of art in your home.
Can Decoupage Be Done Outdoors?
Yes, you can do decoupage outdoors, but you need to take into account weather conditions. Protect your project from moisture, sun, and extreme temperatures, which can damage the paper and adhesive. Use outdoor-grade sealers and follow outdoor sealing tips, like applying multiple coats and allowing proper drying time. These steps help ensure your decoupage lasts longer and maintains its vibrant appearance despite outdoor exposure.
What Safety Precautions Should I Take?
When doing decoupage outdoors, you should take safety precautions seriously. Always handle sharp tools carefully to avoid cuts, and wear gloves if needed. Make certain your workspace has good ventilation to prevent inhaling fumes from adhesives or sealers. Keep a first aid kit nearby, and work in a well-lit area. By staying alert and following these safety tips, you can enjoy your project without unnecessary risks.
Are There Eco-Friendly Decoupage Materials Available?
Like a gust of fresh spring air, eco-friendly decoupage materials are readily available. You can choose biodegradable adhesives that bond your project while caring for the planet. Natural decorative papers, crafted from sustainable sources, add beauty without harm. These materials let you create art that’s as gentle on Earth as it is stunning, ensuring your creative spirit soars responsibly with every brushstroke.
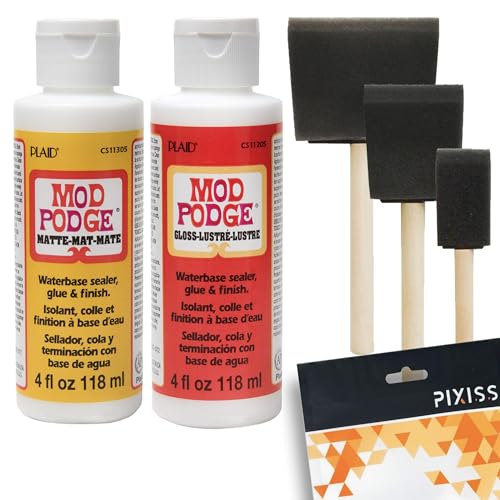
Mod Podge Decoupage Starter Kit, Gloss and Matte Medium with 3 Pixiss Foam Brushes, Waterproof for Puzzles, Wood and More
Mod Podge Gloss – Add a radiant sheen to your projects with this premium gloss finish, making your…
As an affiliate, we earn on qualifying purchases.
As an affiliate, we earn on qualifying purchases.
Conclusion
Now that you’ve mastered decoupage techniques, your creations transform ordinary furniture into art. It’s fascinating how something so delicate can withstand daily life, much like how beauty can endure amidst chaos. Your decorated pieces become more than just décor—they’re a proof to your patience and creativity. Embrace the contrast between fragility and strength, knowing that your handcrafted items carry both vulnerability and resilience, much like life itself. Keep decorating, and let your imagination shine through.
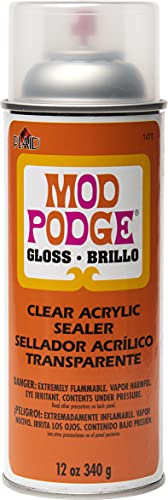
Mod Podge Spray Acrylic Sealer that is Specifically Formulated to Seal Craft Projects, Dries Crystal Clear is Non-Yellowing No-Run and Quick Drying, 12 ounce, Gloss
CONVENIENT SIZE – This 12 oz clear acrylic sealer is a must-have to your art supplies
As an affiliate, we earn on qualifying purchases.
As an affiliate, we earn on qualifying purchases.
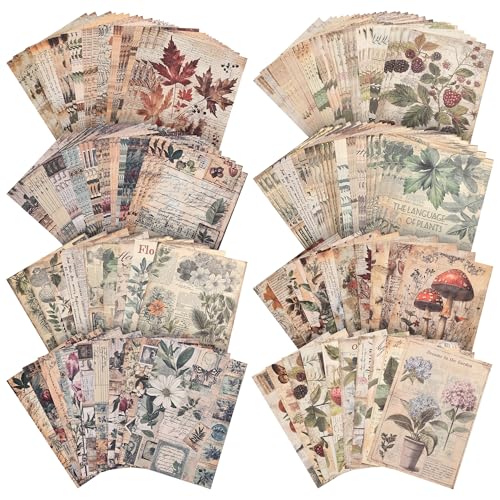
120 Sheets Vintage Botanical Scrapbook Paper Set, Journaling Scrapbooking Supplies Craft Decoupage Papers Kit, 4 Themes x 30 Mushroom Floral Antique Letter Design for Junk Journals Collage Card Making
🎨 Exquisite Vintage Botanical Collection – Timeless Nature-Inspired Designs Each of our 120 premium A5 sheets (4 themes…
As an affiliate, we earn on qualifying purchases.
As an affiliate, we earn on qualifying purchases.