
To make natural soap, gather simple ingredients like olive oil, coconut oil, and essential oils for fragrance. Carefully measure your oils and mix a lye solution in a well-ventilated area, then combine them until you reach trace. Pour into silicone molds, insulate while it sets for 24-48 hours, and cure for 4-6 weeks to develop a hard, gentle bar. Keep exploring to discover more tips and tricks for successful soap making.
Key Takeaways
- Use basic oils like olive and coconut oil with lye for safe saponification.
- Measure ingredients precisely with a digital scale for consistent results.
- Mix lye and water carefully in a well-ventilated area, then combine with oils at trace.
- Pour the soap mixture into silicone molds, tap to remove air bubbles, and cover for setting.
- Cure the unmolded soap for 4-6 weeks to develop scent, texture, and skin-safe pH.

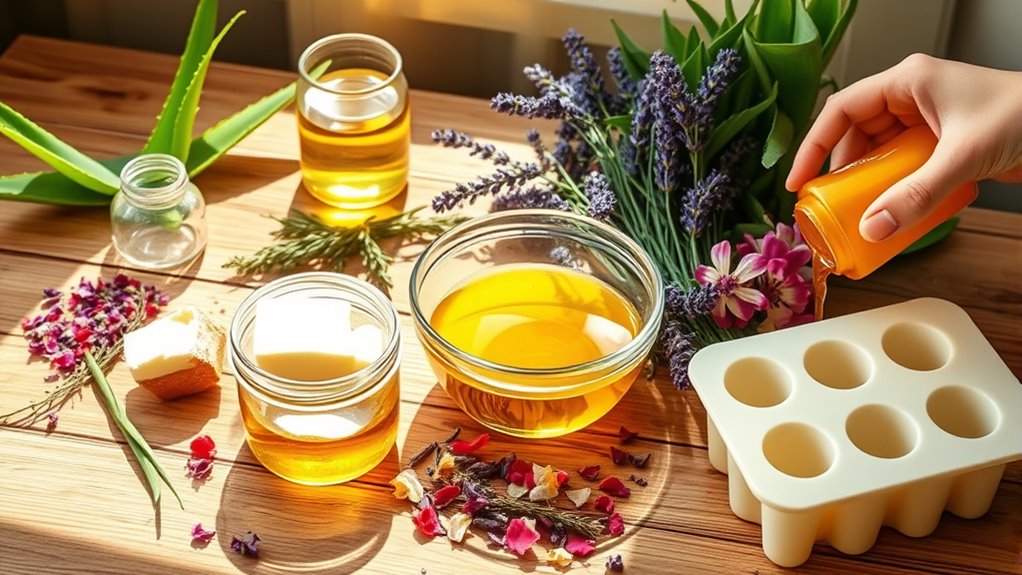
Creating your own natural soap is a rewarding way to care for your skin using simple, eco-friendly ingredients. When starting out, gathering the right supplies is essential. You’ll need basic ingredients like olive oil, coconut oil, and lye, but don’t forget the finishing touch—essential oils. These not only add delightful fragrances but also provide therapeutic benefits, making your soap both soothing and invigorating. As you prepare your soap, having quality soap molds on hand will make the process easier and more enjoyable. Silicone soap molds are popular because they’re flexible and allow for easy removal of your finished bars, giving your soap a professional look.
Once you’ve assembled your ingredients and tools, the process begins with carefully measuring and mixing your oils and lye solution. Precision is key here, so use a digital scale for accuracy. When combining the lye with water, do so slowly and in a well-ventilated area, as fumes can be strong. After the lye solution cools to the right temperature, you’ll blend it with your oils. This stage requires constant stirring until the mixture reaches “trace,” a pudding-like consistency that indicates saponification has begun. At this point, you can start adding essential oils—usually a few drops are enough, but feel free to experiment with scents like lavender, peppermint, or eucalyptus for different effects.
Measure oils and lye carefully, then mix until trace for perfect soap saponification.
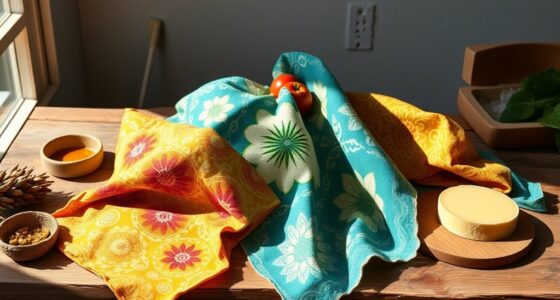
Pour your soap mixture into the soap molds, taking care to tap the molds gently to eliminate air bubbles. If you want to add visual interest, you can layer different colors or sprinkle herbs and dried flowers on top before the soap sets. Cover the molds with a towel or box to insulate the soap as it hardens, which typically takes 24 to 48 hours. Once solid, carefully remove the soap from the molds. If you used silicone molds, this step is straightforward; if not, you might need to gently loosen the edges before unmolding.
After unmolding, you should let your soap cure for about four to six weeks. This allows excess moisture to evaporate, resulting in a harder, longer-lasting bar. During this curing time, the scent of the essential oils will develop fully, and the soap’s pH level will stabilize. Making soap with your own hands gives you control over every ingredient, ensuring your final product is free from synthetic additives. Plus, experimenting with different essential oils and soap molds lets you create personalized, eco-friendly products that are perfect for gifts or everyday use.

Soap Making Kit with 3 Silicone Molds, 48 Bags, 48 Gift Tags, 65ft Jute Twine – Craft Set for Handmade Soaps – Beginner & Professional
Craft SET: Includes 3 silicone soap molds with decorative patterns, 48 soap packaging bags, 48 'Thank You' kraft…
As an affiliate, we earn on qualifying purchases.
As an affiliate, we earn on qualifying purchases.
Frequently Asked Questions
Can I Make Soap Without Using Lye?
You can’t make traditional soap without using lye, but you can use lye substitutes like melt-and-pour bases or pre-made soap. These methods skip the lye process and make soap making safer and easier. Remember, even with lye substitutes, soap needs to cure properly to develop its final qualities. So, if you’re avoiding lye, opt for melt-and-pour or pre-made bases, and allow your soap to cure for the best results.
How Long Does Homemade Soap Last?
Imagine your homemade soap resting like a treasure chest on your shelf, its scent lingering softly. Typically, natural soap lasts about 6 to 12 months with proper soap preservation, maintaining its scent, texture, and cleansing power. To guarantee maximum shelf life, store it in a cool, dry place away from sunlight. Properly cured and stored, your soap will serve you well, providing gentle cleansing for months to come.
Are Natural Ingredients Suitable for Sensitive Skin?
Yes, natural ingredients are generally suitable for sensitive skin, but you should choose your fragrance selection carefully, opting for gentle essential oils instead of synthetic ones. Avoid harsh color additives and stick to natural options like clays or herbs. Always do a patch test first to guarantee your skin reacts well. With thoughtful ingredient choices, you can create soothing, chemical-free soap that’s gentle on sensitive skin.
What Are Common Mistakes to Avoid in Soap Making?
Don’t rush the soap curing process or overlook fragrance selection, as these mistakes can ruin your soap. You might be tempted to cut corners, but patience guarantees your soap hardens properly. Avoid adding fragrances too early or in excess, which can cause separation or skin irritation. Measure ingredients carefully, and follow proper curing times. Staying attentive to these details helps you craft beautiful, safe, and long-lasting soap.
Is It Safe to Make Soap at Home Alone?
Yes, you can make soap at home alone, but you should prioritize safety precautions. Always wear gloves and goggles when handling lye, work in a well-ventilated area, and keep a fire extinguisher nearby. Carefully measure ingredients and follow instructions. After pouring, guarantee proper soap curing time, usually 4-6 weeks, to allow excess moisture to evaporate and make your soap safe and gentle for use.

MAYJAM Tea Tree 20 Pcs Pure Essential Oil Gift Set, for Diffuser, Humidifiers, Skin Care, Massage, Fragrance Oil Scent for DIY Candle and Soap Making, Gift for Friend (5ML)
Wonderful Scent: Our essential oils are highly concentrated liquids that are derived from flowers, leaves, and other plant…
As an affiliate, we earn on qualifying purchases.
As an affiliate, we earn on qualifying purchases.
Conclusion
Now that you know the basics of natural soap making, you’re ready to create beautiful, eco-friendly bars at home. Remember, over 60% of consumers prefer natural products, so your homemade soap can meet this growing demand. Experiment with ingredients and techniques, and enjoy the process of crafting something both nourishing and sustainable. With patience and practice, you’ll soon be making soap that’s as good for the environment as it is for your skin.

Bonvoisin Baking Scale 0.1 Gram Accuracy Digital Scale for Kitchen, Candle, Soap and Sourdough Bread Making, with Percentage Weighing Function, Weigh in Grams, Pounds and Ounces (10 lb)
Precise Measurement – This baking scale can weigh up to 11 lb / 5 kg with a readability…
As an affiliate, we earn on qualifying purchases.
As an affiliate, we earn on qualifying purchases.

Sodium Hydroxide – Pure – Food Grade (Caustic Soda, Lye) (2 Pound Jar)
Reclosable HDPE Jar
As an affiliate, we earn on qualifying purchases.
As an affiliate, we earn on qualifying purchases.