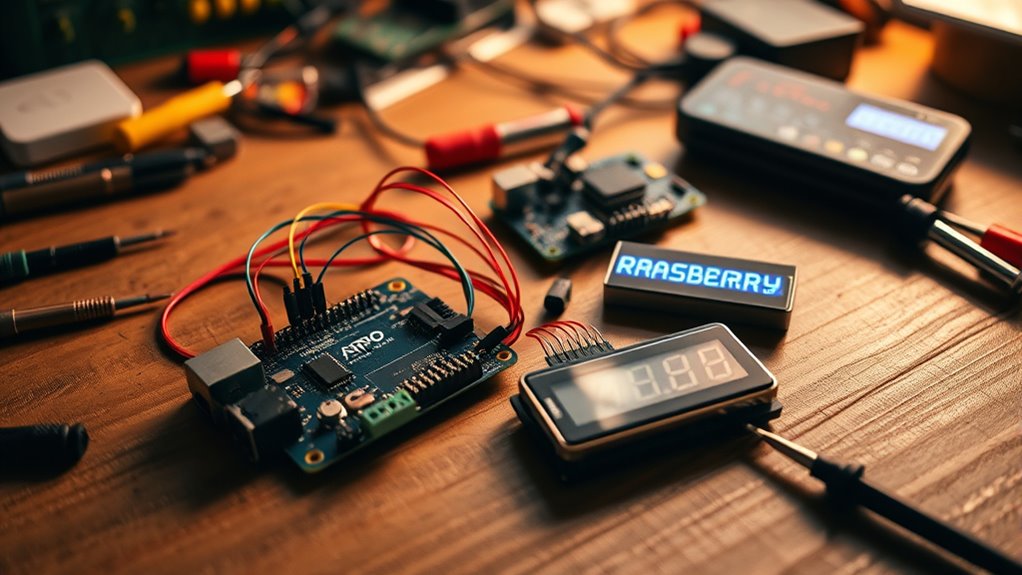

To get started with DIY electronics using Arduino and Raspberry Pi, focus on understanding sensor integration and power management. Learn how to connect sensors like temperature, motion, or humidity, and manage power efficiently with low-power components and sleep modes. Mastering wiring, calibration, and signal filtering guarantees accurate data. By exploring these fundamentals, you’ll create practical projects. Keep exploring these core skills, and you’ll discover even more ways to innovate with electronics.
Key Takeaways
- Understand the fundamentals of microcontrollers like Arduino and Raspberry Pi for project control.
- Learn sensor integration techniques for environmental data collection and device interaction.
- Manage power efficiently using components like voltage regulators and sleep modes for reliable operation.
- Choose appropriate communication methods (analog/digital) and wiring for multiple sensors and modules.
- Develop skills in coding, testing, and calibrating hardware to create functional, real-world DIY electronics projects.
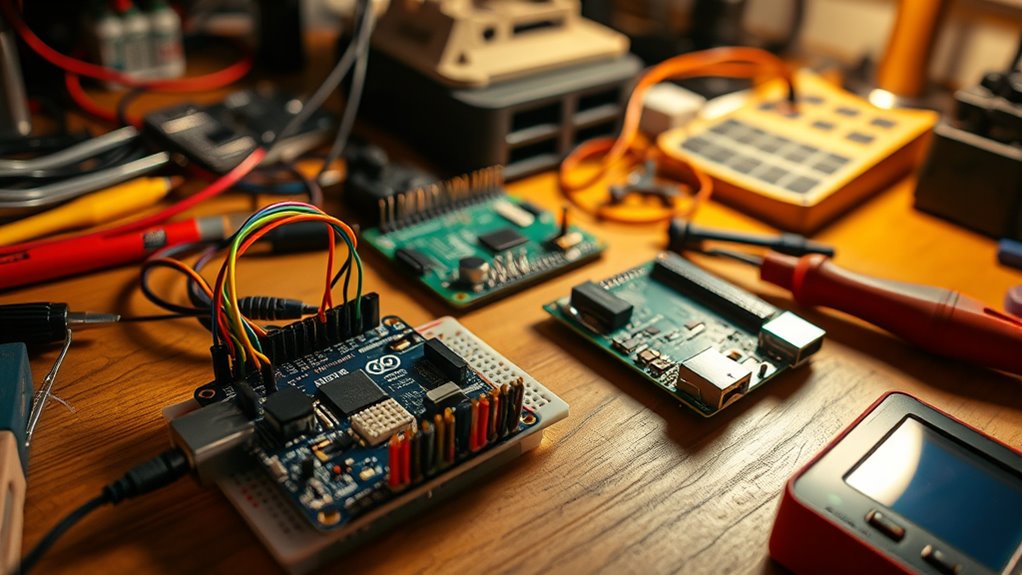
Getting started with DIY electronics opens up a world of creativity and practical skills. Whether you’re building a simple weather station or a home automation system, understanding the basics of sensor integration and power management is essential. Sensors are the backbone of many projects—they allow your device to perceive the environment, whether it’s measuring temperature, light, motion, or humidity. To effectively incorporate sensors, you need to select the right type and guarantee proper integration with your microcontroller or single-board computer, like an Arduino or Raspberry Pi. This involves connecting the sensors correctly, configuring the input/output pins, and writing code that reads the sensor data accurately. As you gain experience, you’ll learn how to handle multiple sensors simultaneously, filter noisy signals, and calibrate your sensors for better precision.
Power management is another critical aspect of DIY electronics, especially for projects that run continuously or are battery-powered. You’ll want to optimize power consumption to extend battery life or reduce energy costs. This might mean choosing low-power components, implementing sleep modes, or designing circuits that minimize unnecessary power draw. For example, in an Arduino project, you can put the microcontroller into sleep mode when idle, waking it only when needed. On Raspberry Pi projects, managing power involves selecting efficient power supplies, using power-saving settings, or incorporating solar panels for outdoor applications. Proper power management not only makes your project more reliable but also more sustainable and portable.
Effective power management enhances reliability, sustainability, and portability in DIY electronics projects.
When you start a project, it’s important to plan how sensors will communicate with your main controller—whether through analog or digital signals—and how you’ll handle power delivery. For sensor integration, you might need to use multiplexers or level shifters if you’re working with multiple sensors or different voltage levels. For power management, incorporating battery protection circuits or voltage regulators ensures your device remains stable and safe during operation. Additionally, understanding the contrast ratio of your display components can help you select screens that provide clearer visuals under various lighting conditions. As you build, test each component thoroughly, refine your code for efficient sensor reading, and optimize your power setup to prevent overheating or excessive energy drain.
In essence, mastering sensor integration and power management transforms your DIY projects from simple experiments into reliable, efficient systems. It’s about understanding the hardware and software interplay, making smart component choices, and designing circuits that work seamlessly together. With these skills, you’ll be able to create projects that are not only fun and educational but also practical and ready for real-world use. As you progress, you’ll find that these foundational concepts open up endless possibilities, encouraging you to innovate and push the limits of what DIY electronics can achieve.

HiLetgo 5pcs DHT11 Temperature Humidity Sensor Module Digital Temperature Humidity Sensor 3.3V-5V Humidity Measure Range 20%-95% Temperature Measure Range 0-50℃ Celsius with Wires
DHT11 digital temperature and humidity sensor is a digital signal output with a calibrated temperature and humidity combined…
As an affiliate, we earn on qualifying purchases.
As an affiliate, we earn on qualifying purchases.
Frequently Asked Questions
What Are the Best Beginner Arduino Projects to Start With?
Start with simple Arduino projects like a blinking LED or temperature sensor integration. These projects help you understand basic circuit connections and coding. You can then progress to motor control projects, such as a robotic car, which teach you how to manage motors and sensors together. These beginner projects build your confidence and skills, providing a solid foundation for more complex DIY electronics projects.
How Do I Troubleshoot Common Raspberry Pi Setup Issues?
Struggling with your Raspberry Pi setup? Don’t worry—you’ll want to check your power supply first; shaky power causes many issues. Next, confirm your network connectivity is solid—verify your Ethernet or Wi-Fi connections. Restart your device and double-check your SD card for errors. If problems persist, update your firmware or reinstall the OS. Staying patient and methodical will lead you to a quick fix and get your Pi running smoothly again.
What Safety Precautions Should I Follow When Working With Electronics?
When working with electronics, always wear personal protective equipment like gloves and eye protection to prevent injury. Be mindful of electrostatic discharge by grounding yourself before handling sensitive components, which helps avoid damage. Keep your workspace dry and organized, and disconnect power sources when assembling or modifying circuits. By following these safety precautions, you protect both yourself and your electronics, ensuring a safe and successful project experience.
Can I Combine Arduino and Raspberry Pi in One Project?
Absolutely, you can combine Arduino and Raspberry Pi in one project—think of it as creating an unstoppable integrated system! This project integration lets you leverage Arduino’s real-time control with Raspberry Pi’s powerful processing. You just need to guarantee proper communication protocols, like serial or I2C, and plan your wiring carefully. With the right setup, you’ll open endless possibilities, making your project more dynamic and impressive than ever!
What Are Some Cost-Effective Components for DIY Electronics?
You can save money by using budget sensors like basic temperature, light, or motion sensors, which are affordable and readily available. Recycled parts, such as old electronics or discarded components, also help cut costs and add a DIY touch. Combining these budget sensors with recycled parts allows you to build functional projects without overspending, making electronics more accessible and sustainable for your creative ideas.
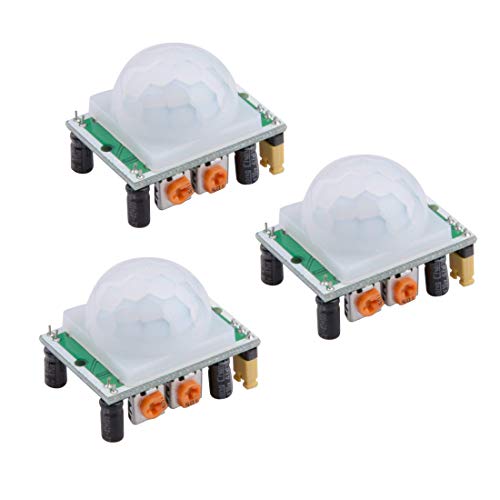
HiLetgo 3pcs HC-SR501 PIR Infrared Sensor Human Body Infrared Motion Module for Arduino Raspberry Pi
Operating voltage range: DC 4.5-20V
As an affiliate, we earn on qualifying purchases.
As an affiliate, we earn on qualifying purchases.
Conclusion
Now that you’ve explored the basics of Arduino and Raspberry Pi projects, you’re unstoppable in the world of DIY electronics. With just a few components and a spark of curiosity, you can turn simple ideas into incredible creations—like building a robot that could outsmart most tech experts! Keep experimenting, learning, and pushing your limits. Remember, your potential is as limitless as the universe itself. So go ahead, create something extraordinary—because you’re capable of more than you ever imagined!

20PCS HT7833A HT7833A-1 7833A 7833A-1 HT7833 3.3V Transistor TO-92
HT7833 is a low dropout voltage regulator that provides a fixed three-point-three-volt output for low-voltage systems
As an affiliate, we earn on qualifying purchases.
As an affiliate, we earn on qualifying purchases.

Portable Coil & Inductance Tester for Motherboard Repair, Professional Circuit Board Diagnostic Tool Kit, Battery Sensor Tester for Rapid Troubleshooting & Electronics Maintenance
[UNIVERSAL COMPATIBILITY & REDUCED DOWNTIME] Engineered for versatility, this professional coil tester is compatible with equipment from leading…
As an affiliate, we earn on qualifying purchases.
As an affiliate, we earn on qualifying purchases.